How to Share the Outlook Calendar Using a Windows Application
Calendar sharing will be very easy if you use Microsoft Outlook for Windows. Follow these steps:
- Open Outlook on your Windows PC.
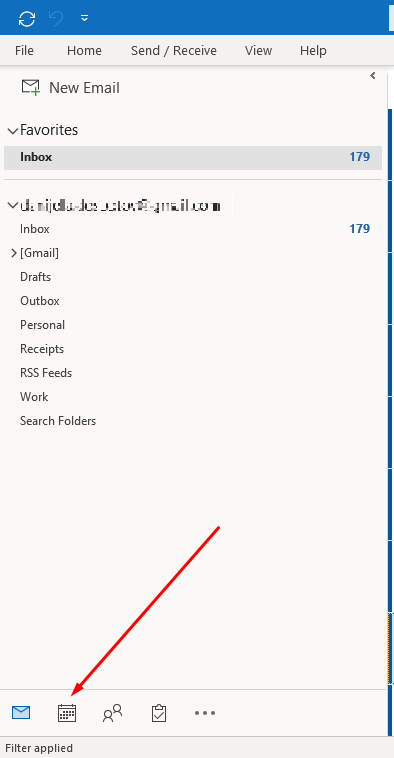
- Find the Calendar icon in the lower left corner.
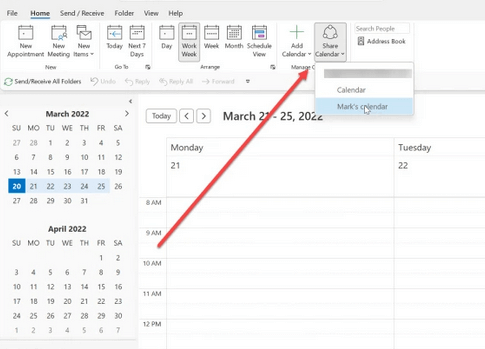
- In the Home tab select Share Calendar on the top right side of the toolbar.
- Outlook will present you with a list of shareable calendars. Remember that not all calendars you configure in Outlook can be shared.
- Click on the calendar you want to share to select it.
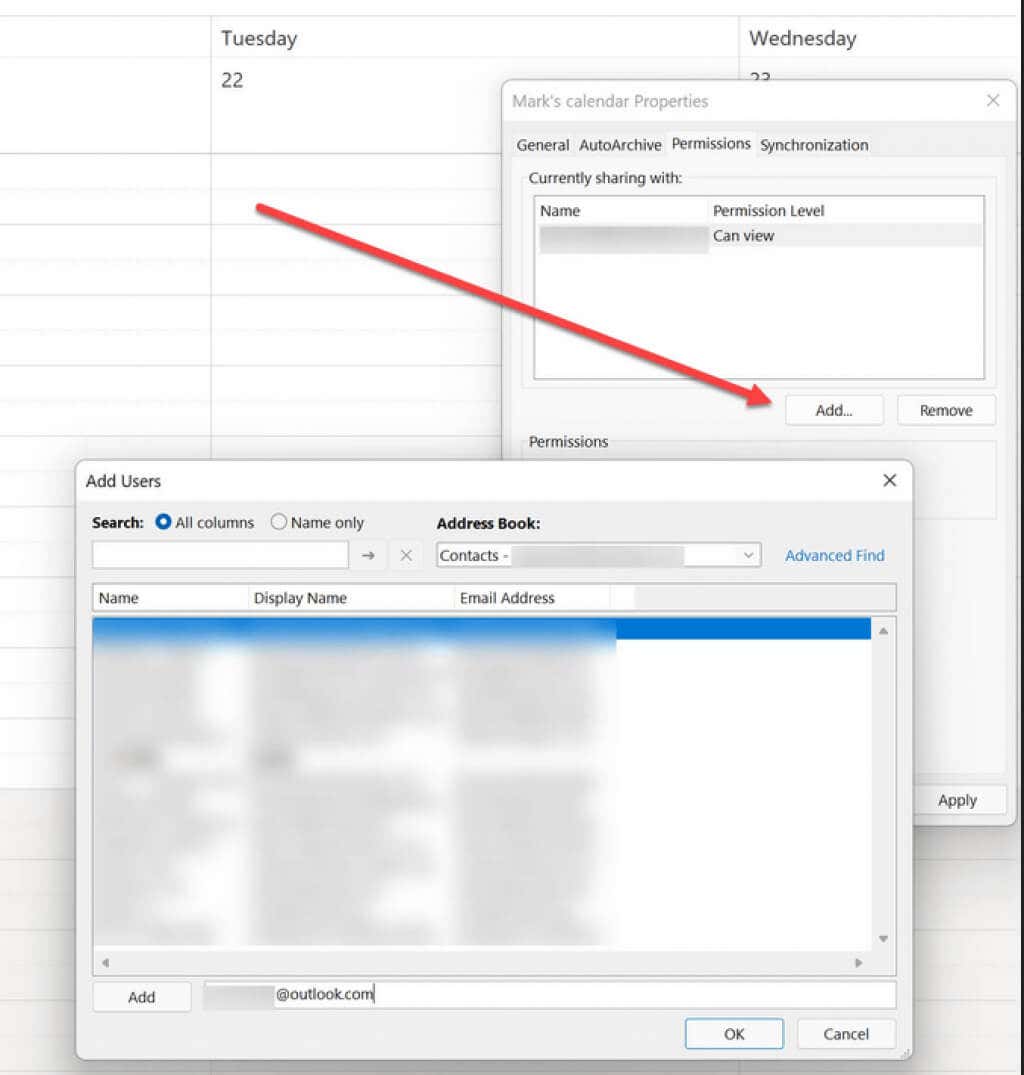
- A new dialog box will open with calendar properties. Select Add to add users.
- From a list of contacts (typically your address book) choose who you’ll be sharing the calendar with. Start typing the person’s name, and Outlook will fill in their email address.
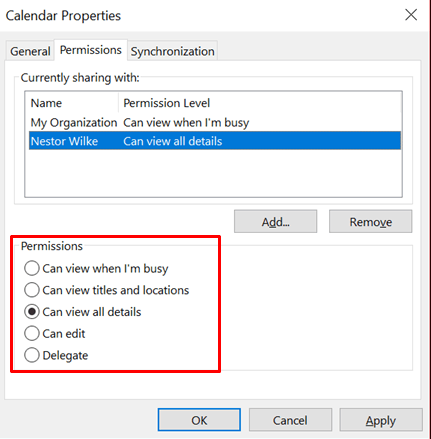
- The added people will have default sharing permission levels. You can now select them individually and change their access level as you see fit.
How to Share the Outlook Calendar on the Website
You can still share your calendar using the Outlook website if you’re using a device without a Microsoft Outlook app. Here’s how:
- Open your preferred web browser and type Outlook.live.com in the address bar. Sign in with your credentials.
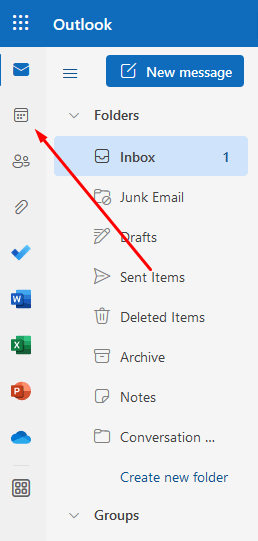
- Select the Calendar icon on the left side menu.
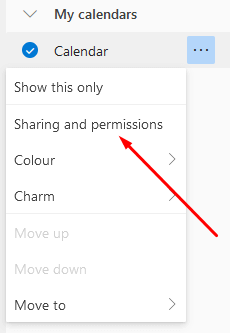
- Select the calendar you want to share and right-click on it.
- If this particular calendar can be shared, you’ll have the option Sharing and permissions. Click it.
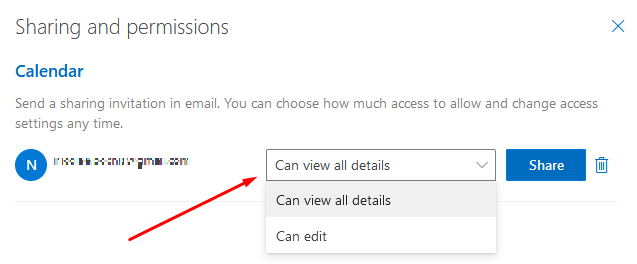
- A new dialog box will pop up. Type in the email address of the person you want to share the calendar with. If the recipient is in your contacts, the Outlook web app will offer a list from which you can choose the emails.
- Once you add the users, you can set their permission levels. Choose between Can view all details and Can edit from a drop-down menu.
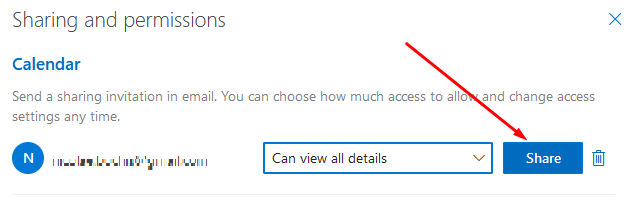
- Select Share.
Understanding Permission Levels
When sharing your Outlook calendar with someone you’ll have to set the permission level by following the steps described above. You can leave it on default or change it to one of the offered options. There are five options if you’re using the desktop Outlook app and only two options if you share your calendar through the website. To know exactly which level of permission to choose, you need to understand them. Remember that if you want more detailed permission levels, you’ll have to set them by using the Outlook desktop app. The web version has limited options; you can set only Can view all details or Can edit. That means your colleagues will be able to either see all the calendar items in their full details or will be able to see and edit them.
Can View When I’m Busy
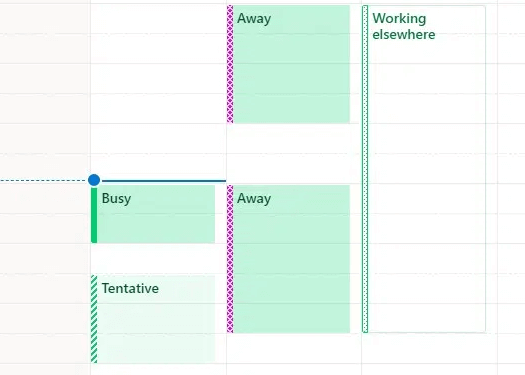
This is the default permission level, and if you opt not to change it, this is what the recipient will automatically have. Your co-workers with whom you shared your calendar will be able to open it and only see if you’re available, busy, out of the office or if you have an appointment.
Can View Titles and Locations
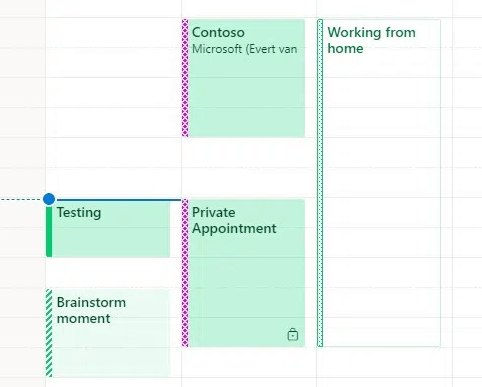
If you want to show more details to the calendar recipients, choose the “Can view titles and locations” option. Although this gives some access to limited details, your colleagues can now see the location and titles (or subjects) of your meetings. You can label some of your meetings as private appointments, and they will not show the location and title. Instead, they will be designated private even when using this permission level.
Can View All Details
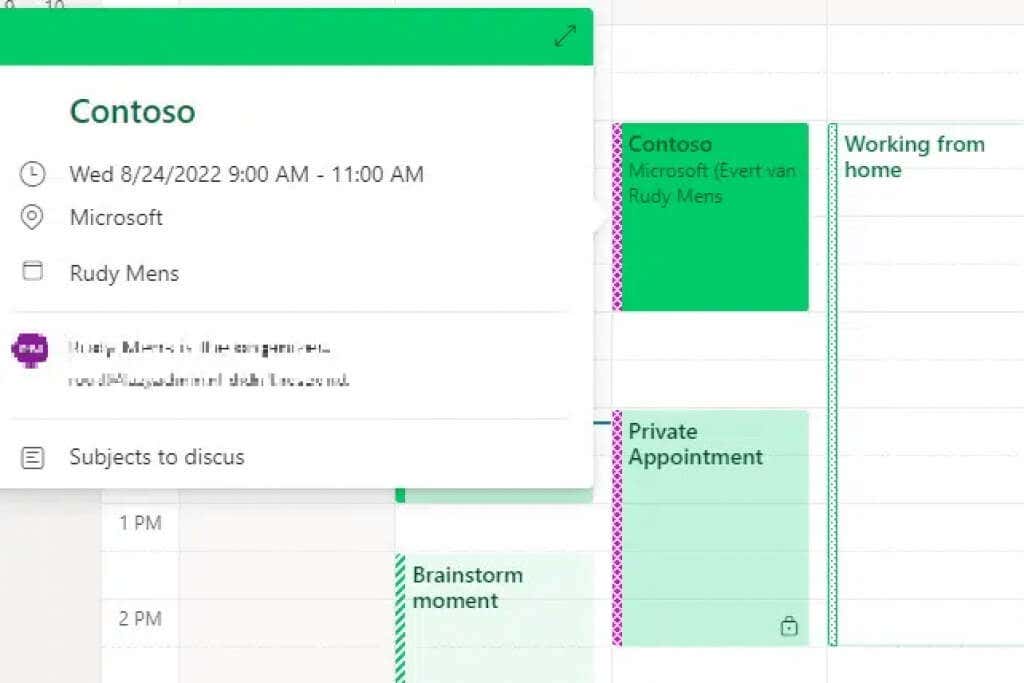
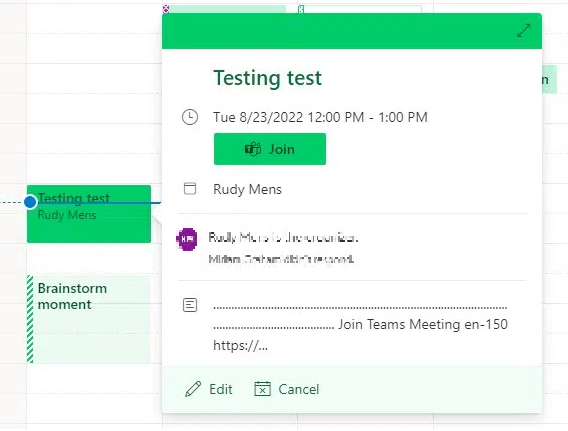
This permission level setting will let recipients see full details and all calendar items. Besides meetings and appointments, they will also see the attendees, meeting notes, and attachments.
Can Edit
This permission level will allow your colleagues to change your Outlook Calendar. They will be able to add or remove your appointments. But they will not be able to receive meeting requests for you, nor will they be able to respond to the meeting invites.
Delegate
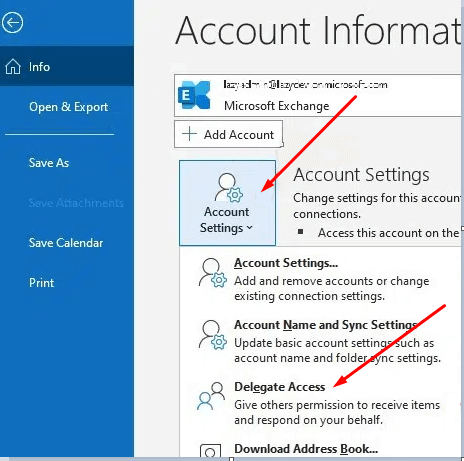
You’ll probably want to assign this permission level to someone trustworthy. It will allow them to handle all the meetings, appointments, and invitations fully. When you assign someone delegate permission, you can choose whether to give them the power to handle your private appointments. But to finetune these Outlook Calendar options, you’ll have to go to Account Settings. To do so follow these steps:
- Go to File in the upper left corner of the Outlook app.
- In the Info tab select Account Settings.
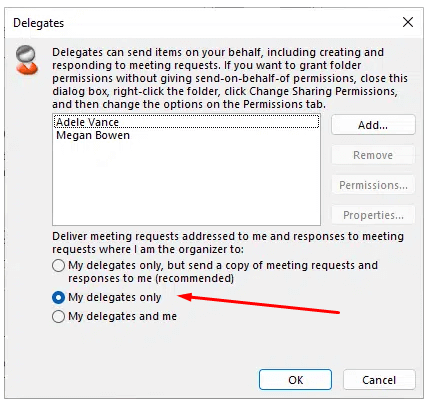
- Find the Delegate Access option
- Configure the Delegate options. You can choose your meeting requests to be delivered only to your delegates, but you’ll receive their copies. The second option will have only your delegates receiving meeting requests. The third option will send meeting requests to both you and your delegate. It’s important to know that you can’t set a whole organization or external users as delegates. This permission level is reserved only for specific users or groups. Delegates will have full access to all calendar items, so choose carefully to whom you want to assign this permission level. Sharing your calendar in Outlook is a great way to keep everyone on the same page. By following these simple steps, you can easily share your calendar and have peace of mind knowing that everyone is on the same schedule. Do you have any other tips for sharing calendars in Outlook? Let us know in the comments!
