This step-by-step guide explains how to insert a watermark in Word and Google Docs on your Windows or Mac computer.
How to Insert a Watermark in Word for Windows
You can add a text watermark or your brand’s logo behind the text on your document by following the steps below. Note: Instructions in this guide apply to the newest versions of Word, but where instructions are different, we’ve highlighted those differences.
Insert a Text Watermark in Microsoft Word for Windows
You can insert a text watermark to appear in the background of every page behind the content of your document. Note: For Word 2010 or older versions, select Page Layout > Watermark and then choose a pre-configured watermark.
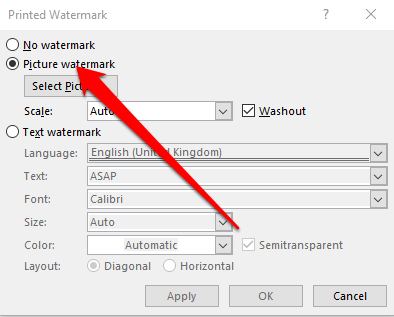
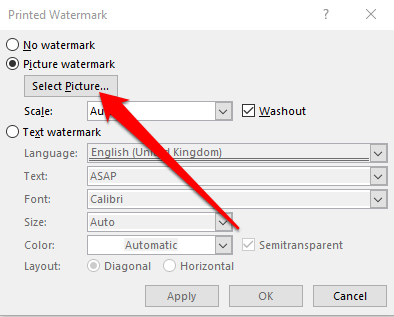
Insert a Picture Watermark
A picture watermark, like a logo, is an easy way to make your document look official.
How to Insert a Watermark in Word for Mac
If you’re using a Mac, follow the steps below to insert a text or picture watermark in Word.
Insert a Text Watermark
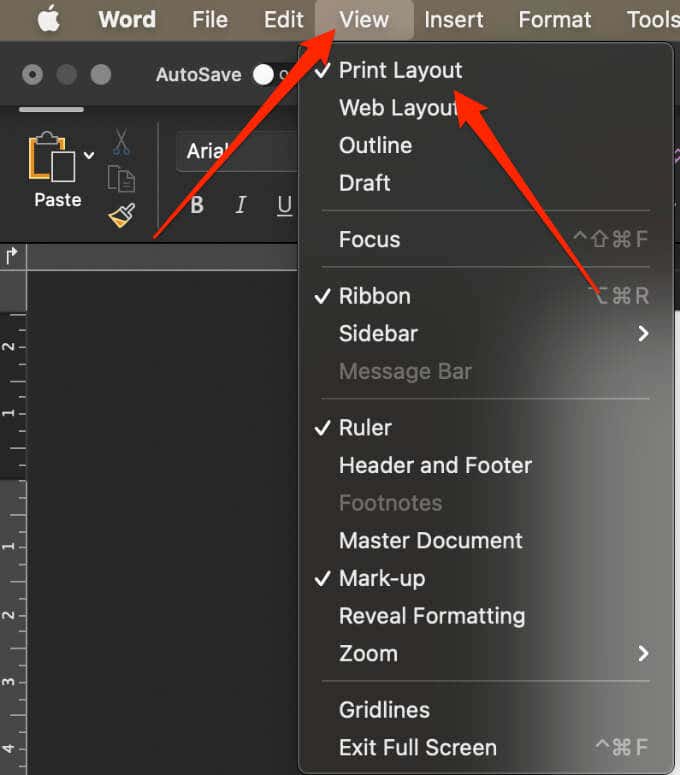
Note: For this guide, we’re using the latest version of Word on a Mac running macOS Big Sur. Note: If the watermark doesn’t appear in the preview window, select View > Print Layout to enable the preview and then select OK to complete the process.
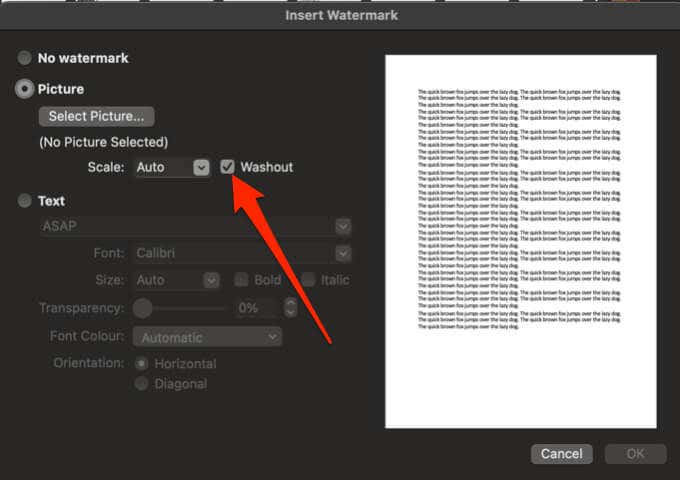
Insert a Picture Watermark
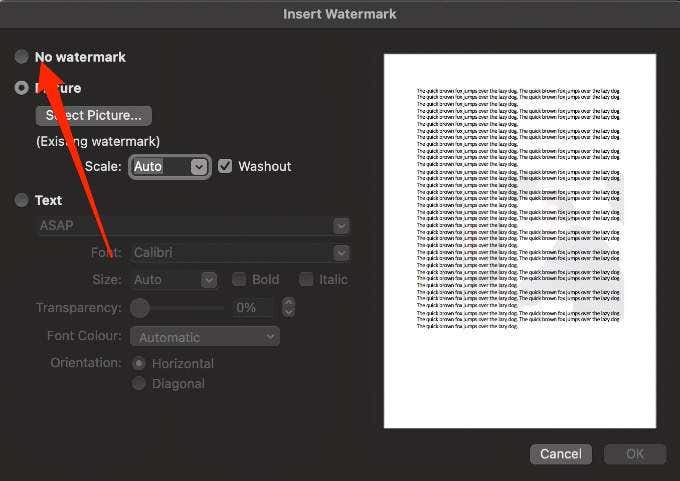
You can insert an image like your company logo as a watermark in Word for Mac.
Insert a Watermark to Appear Once Per Page in Word for Windows
If you don’t want your watermark to appear on each page of your document, you can change the settings so that it appears once per page. This option only works on Word for Windows.
How to Save a Watermark for Use in Other Documents
If you want to reuse a picture watermark in the future, you can save it as a custom watermark. Again, this option only works on Word for Windows.
How to Edit a Text or Picture Watermark in Word
A watermark is usually part of the header in a Word document even though it’s displayed in the middle of the page. Below are the steps to edit a watermark in Word.
How to Insert a Watermark in Word for the Web
The best way to work with watermarks is in the Word desktop application rather than the mobile app or Word Online. If you’re using Word for the Web, you can see watermarks already in your document, but you can’t insert new watermarks or change them. However, if you have the Word desktop app, you can open the document using the Open in Word or Open in Desktop app command and insert or change the watermark from there. Once done, save the document and it will be stored where you opened it in Word for the Web and your watermarks will appear when you reopen the document.
How to Remove a Watermark in Word
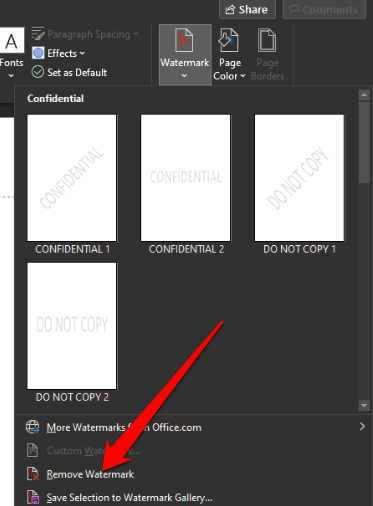
If you don’t like the watermark on your document or you no longer need it, you can remove it in a few simple steps.
How to Add a Watermark in Google Docs
Google Docs lacks a built-in watermarking utility like Word, but you can use Google Drawings to create the watermark first before inserting it into your document.
Insert a Text Watermark in Google Docs
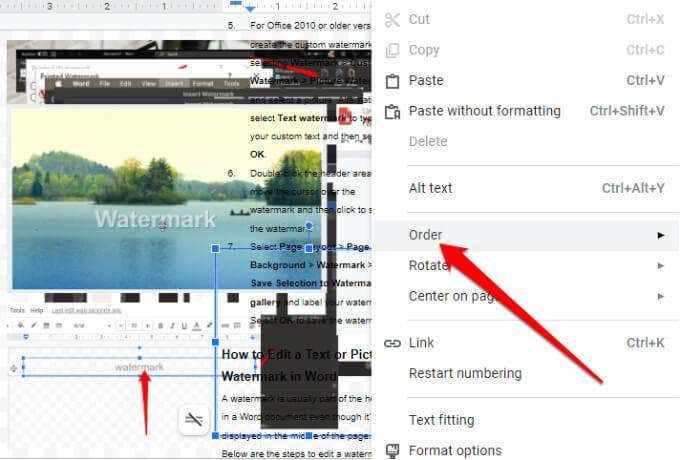
A text watermark is usually located behind the content of your document and helps others know what version of the document is in use.
Insert an Image Watermark in Google Docs
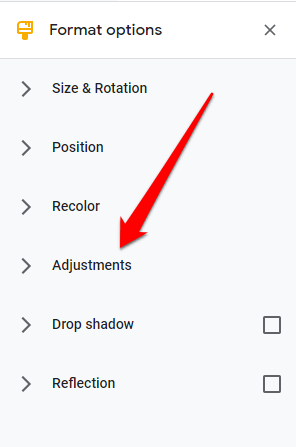
With Google Drawings, you can create an image watermark and then import it into Google Docs.
Insert a Watermark in Word or Google Docs Using Watermark Software
You can also insert a watermark using software like Snagit, uMark or Arclab Watermark Studio. All these watermark tools are compatible with Windows and Mac computers. All three options are paid tools with free trials, except iWatermark, which offers a free version so you can test each one before committing to a monthly subscription.
Add Watermarks on Any Document
Whether you want to prevent unauthorized use of your documents or you want to standardize your official documents, it’s not that difficult to create and add a watermark. Leave a comment and let us know if this guide helped you insert a watermark in Word or Google Docs.


